Getting Started With Your E-Commerce Website
From startups and small businesses to huge brands, every business can benefit from an e-commerce website, where they can sell their products or services. In today’s competitive and convenience focused society, no longer do consumers want to go out to buy items, instead, consumers want to shop from the comfort of their own homes, making e-commerce a perfect solution for both businesses and buyers.
But while setting up an online store might seem complicated and time-consuming, it’s actually not too difficult.
Getting your business up and selling is possible with Website Express. This powerful product allows you to quickly and easily create a website and online store powered by WordPress and WooCommerce. To make the transition to e-commerce seamless, we also have a visual builder within every Website Express account. This allows you to design and create beautiful websites without having to write a single line of code.
Let’s start building your website!
What you’ll need to get started:
- A Website Express account
- Products or services to sell
- 30-60 minutes to set up and add products to your online store
Before you begin
Before you jump into Website Express and start building your store, consider the following:
- Understand your inventory situation. What kinds of products do you sell? How are they typically sold?
- How are you wanting to sell? Local delivery? Pick-up only? While shipping is possible using Website Express, it will cost money. Initially, it may be best to start out with local delivery and pick-up.
- Set aside some inventory for online-only selling. Managing inventory with multiple selling platforms can be tricky at first, so it’s best to make it as simple as possible and develop a personalized system as you go along.
It may be best to start with about five products or services. Putting an entire inventory up at once can be very overwhelming, and managing the listings, sales, and fulfillment can feel like a lot for an online newbie as well.
Once you’ve chosen the products or services you want to focus on, find or generate pictures, pricing, and a description for each. Note any important attributes or variations in your products (e.g., dimensions, various sizes, colors).
Setting up your website
- Enter the Website Express product by clicking on the ‘Website’ tab in the left navigation menu.
- You will be directed to confirm your site name, tagline, and set your subdomain. This is the URL that users will type in to find your site.

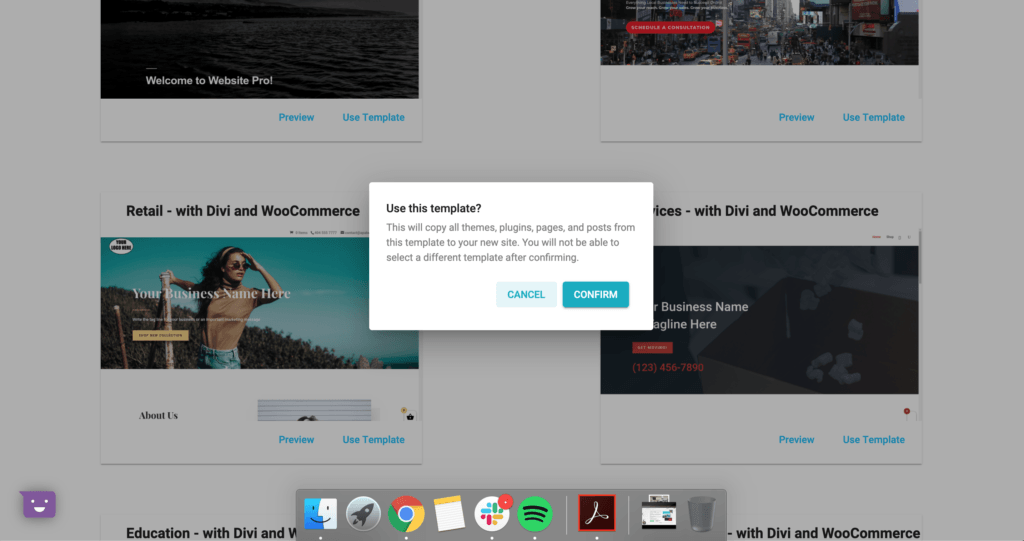
Now it’s time to choose your template. The three at the top are the Dark, Light, and Blank options. These templates DO NOT have an easy commerce solution and may require more advanced coding. Select one of the options that are [Vertical] – With Divi and WooCommerce to ensure your site has the proper functionality.
Preview and compare several different templates. Once you have chosen a template, you cannot change it.
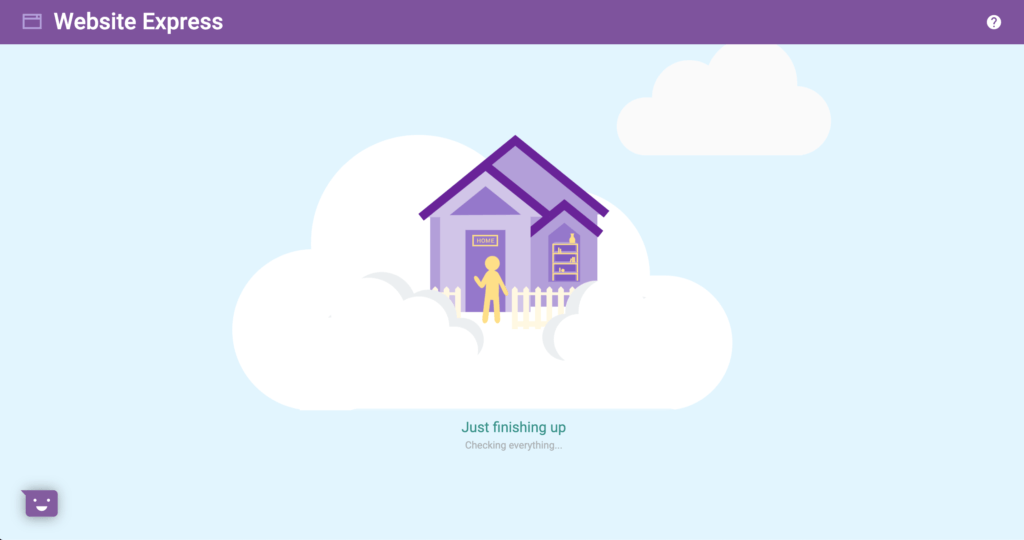
Once you select a template sit back and relax while your new website spins up. This process may take 3 to 5 minutes to load.
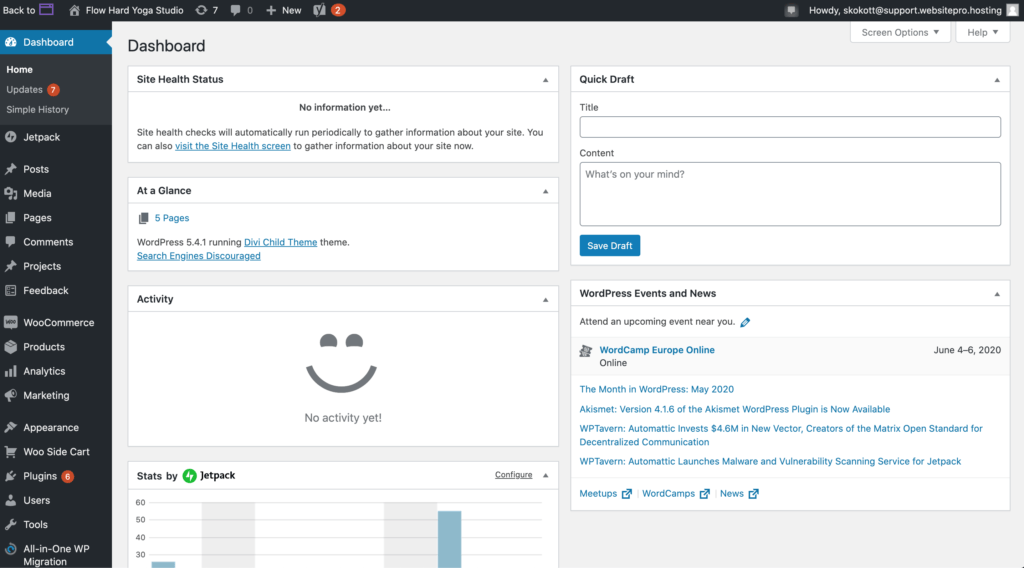
You will arrive at your website’s dashboard. Your stats will be at zero at the moment, this is the place you can return in the future to see how well your website is performing.
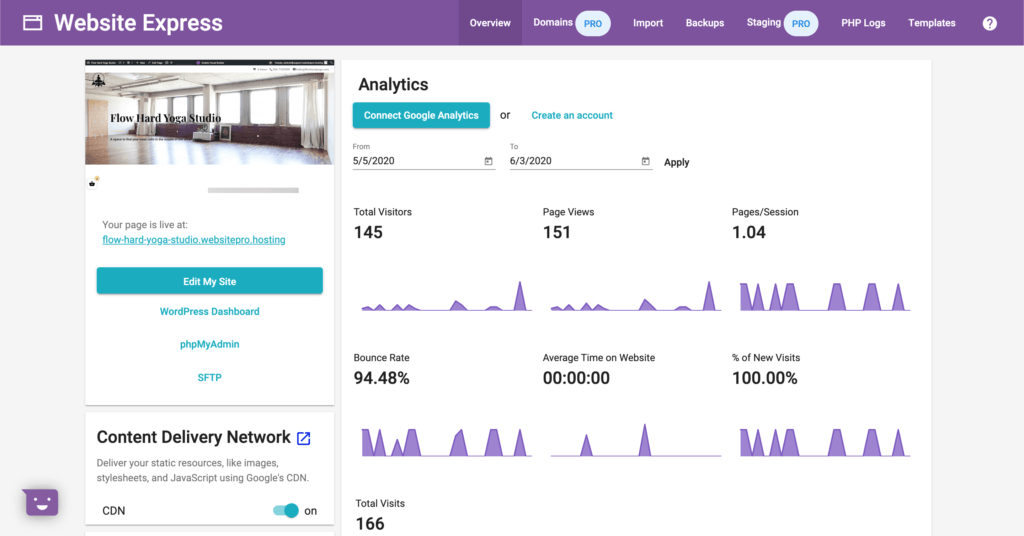
On the left-hand side, there will be a button “Edit My Site”. Click it to start editing the front end, or content of your website.
Editing text/images on your website
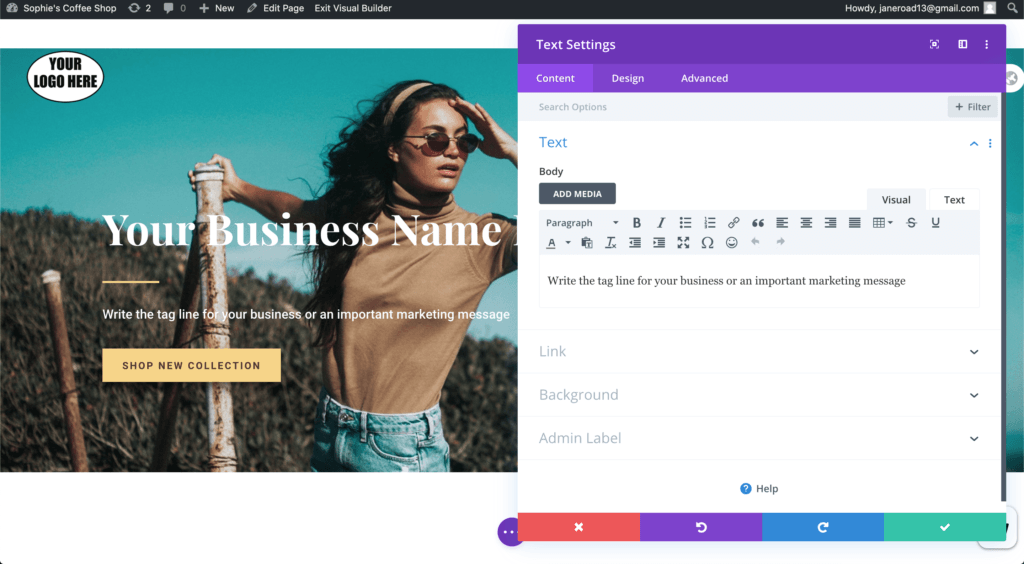
It’s time to customize your site! Let’s start with text elements. Click on the text box you’d like to edit and start making changes.
Alternatively, when you hover over an element, a small dark toolbar will appear. Click on the gear icon to pull up a window that provides more options for editing and customization. Click on the window’s green checkmark to save changes.
This same process also works with any buttons on the page. However, as buttons have more options, you’ll need to pull up the editing modal to further customize it. You can do this by double-clicking the button, or pulling it up through the tab bar in the same way that you did with the text boxes.
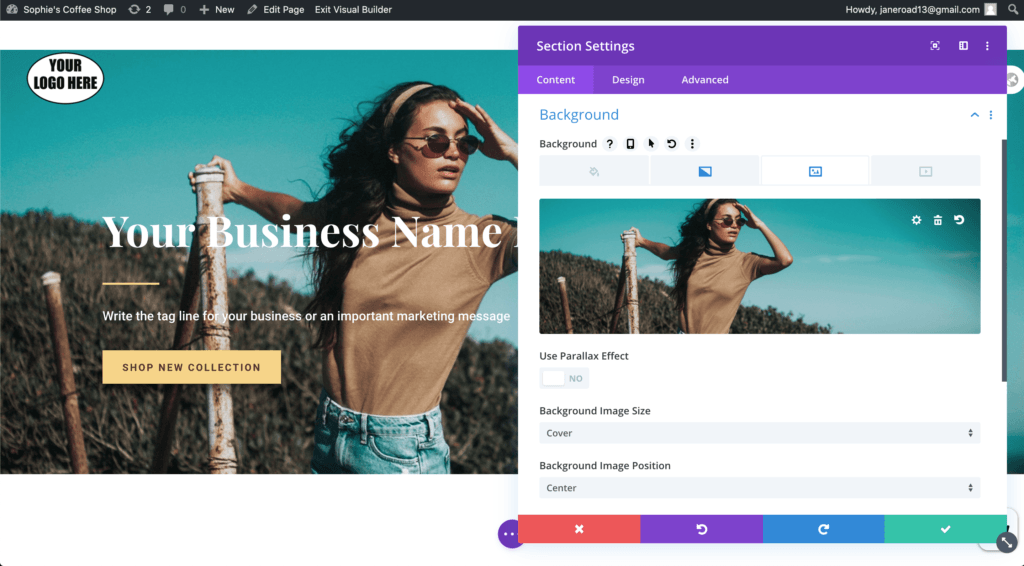
Now it’s time for images! Many templates will have a large picture set as the background or banner across the top. To change the image, simply hover over it (while not interfering with text or other elements) and double-click. An editing modal should pop up. Click on the “Background” headline. Your current background image should be showing. Click the garbage can icon to delete the placeholder image and then click on the “Add image” icon that appears. You can either drag the image from a file on your computer or click to browse your files for the image you prefer.
To edit other images on the site, simply double-click the image and replace it with your own.
Adding and removing elements on your website
If there are any elements (text blocks, images, etc.) that you don’t want on your website, simply hover over the element and select the trash can icon.
If you want to add elements to your page, either:
- Hover over the area you’d like to add an element and click the grey “+”,
- Hover over the element above the spot you’d like your new element to be placed, and look for a green “+”. You may have to actually click on the element above for it to appear.
This will bring up an “add row” selector with different options as to the number of columns in your new element. Perhaps you would like three blocks of text side-by-side? Choose the row with three columns. Maybe a wide picture on the right and a narrow text box on the left?
Choose the row that shows the corresponding spacing. Just want something to go straight across your entire page? Simply choose the first option available, the one with a single column.
Another window should pop up now with several different element options. Search for the Image option to add a picture, the Text option for adding text, or browse to see what other options are available.
Saving your work and moving on to edit another page
Once you’re happy with how your website looks, or every so often along the way, you’ll want to save your progress. Look for the purple icon with three dots at the bottom of your page and click it. The icon should multiply and you’ll now have several purple icons. You’ll also have a green “Save” button in the bottom right corner. Click it to save your changes.
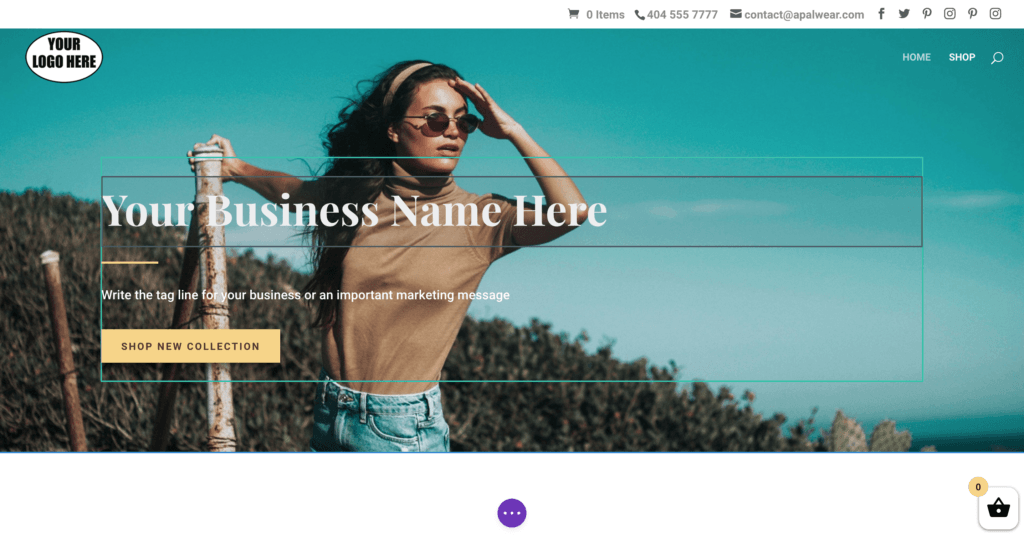
To move to another page to edit, click “Exit Visual Builder” at the top of your page. Once you’ve done so, you’ll see your page exactly as your customers will see it. To edit another page, navigate to that page and then re-enable the visual builder using the button at the top of the screen.
Changing the logo and contact information on your website
To change the logo and contact information on the website you will need to navigate to the WordPress dashboard. To do this, click the name of your business in the top left corner of the screen. Once in your WordPress dashboard, in the left navigation bar click the Divi tab.
You are now on the general settings tab. The top row is where you change the logo. Click the “Upload” button.
Once you’ve uploaded your logo, scroll all the way to the bottom of the page and click the green “Save changes” button.
Next, we’ll plug in your business’ contact information. Back in the left navigation. You may notice that the Divi Builder tab has extended to include several sub-headings. Click on “Theme Customizer”.
This should bring up a new page with a different left-hand navigation. Click on “Header and Navigation”, and then “Header Elements”. The navigation bar should now contain two text bars for you to plug in your business’s information.
Click the blue “Publish” button at the top of the page to save your changes to your webpage.
Setting up your online store
To begin building out your store, you’ll need to navigate to your WordPress dashboard. Once on the WordPress dashboard hover over the WooCommerce tab in the left navigation and click Settings.
Once on this page, look to the top right corner. You should see a tab with the heading, “Help” and a downward arrow. Click on it.
An entirely new menu should pop down. Looking at the top left side, you should see four different tabs. Click on the Setup Wizard tab, then the blue Setup Wizard button. Follow all the steps and fill in all forms (as applicable).
Adding products to your online store
Now it’s time to add products into your online store! Back on the left side navigation bar of your WordPress Dashboard, you should see the tab, “Products”. Click it.
You will see a couple of placeholder products already in your store. You can either edit one of these, or you can start from scratch to add your own products to the store by clicking the “Add New” at the top of the page.
To use the template, simply double-click the product name and replace the existing text with your own. By scrolling down you will see a space for you to input the price of your product, as well as the number of items in your inventory, and a place to add any attributes.
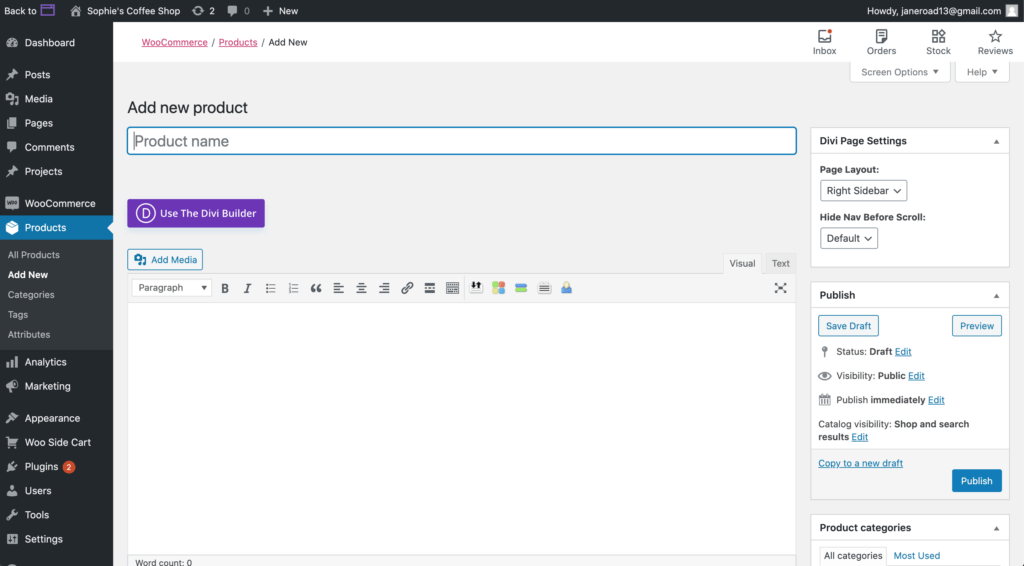
You will also be able to replace the image by clicking the “Product Image” on the lower right side. Click on the image to replace it with your own. If you’d like to add additional images, look just underneath to the “Product Gallery” and click on “Add product gallery images”.
Setting up payments for your online store
To set up the ability to take payments, hover over the WooCommerce tab in the left navigation and click “Settings”.
Click the “Payments” tab.
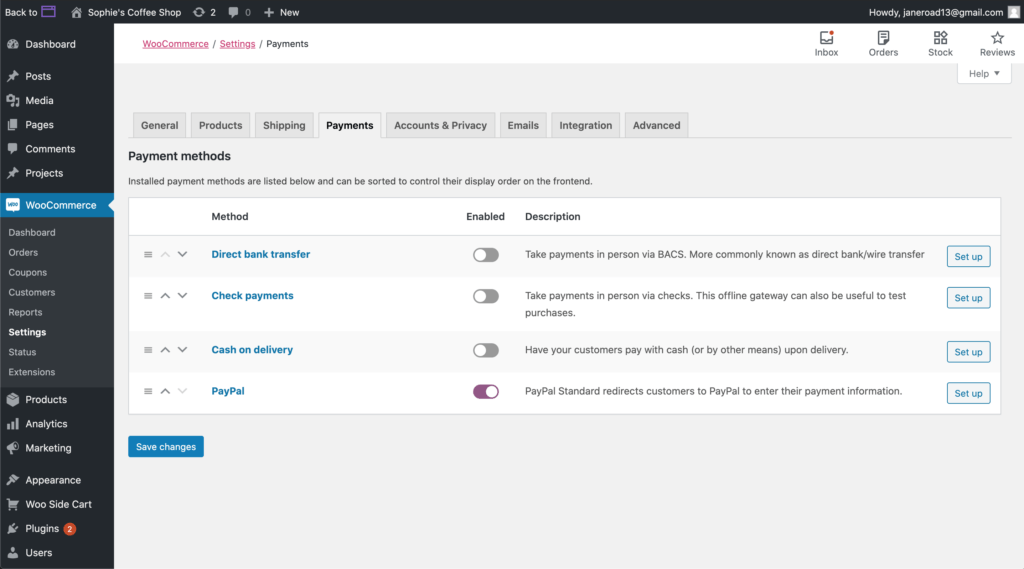
There will be a number of options available to you. All are turned off unless you enable them, which you can do by clicking on the toggle. It should turn purple once activated. Next, click the “Setup” button to the right of the option you just chose, and it will take you to a page of information to fill out to fully setup the process.
- If you would like to use a different payment processor (ex. Stripe), WooCommerce has a variety of additional plugins for this. To add it, hover over the Plugin tab on the left navigation bar, then click “Add New”. Once on that page, look for the “Search Plugins” text box and search for “WooCommerce Stripe”. Once it appears, simply click “Add” and “Enable”. Then return to the payments tab from previous to set it up.
Congratulations, you now have the knowledge you need to set up your own online store. Happy selling!
WooCommerce and Divi Builder have extensive documentation and tutorials on how to set up, edit, manage, and operate your store.